Creamy Chocolate Brownie Cups
Highlighted under: Warm Baking | Bread & Muffins
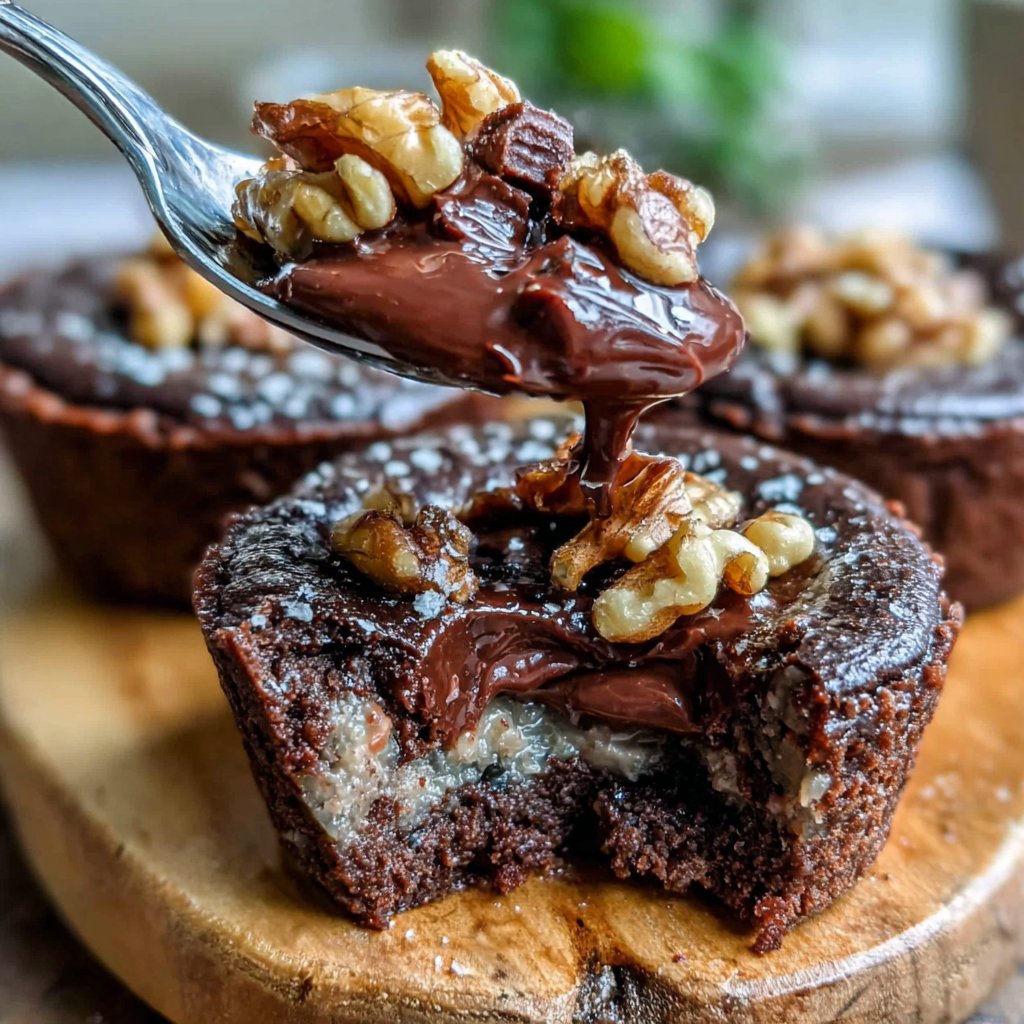
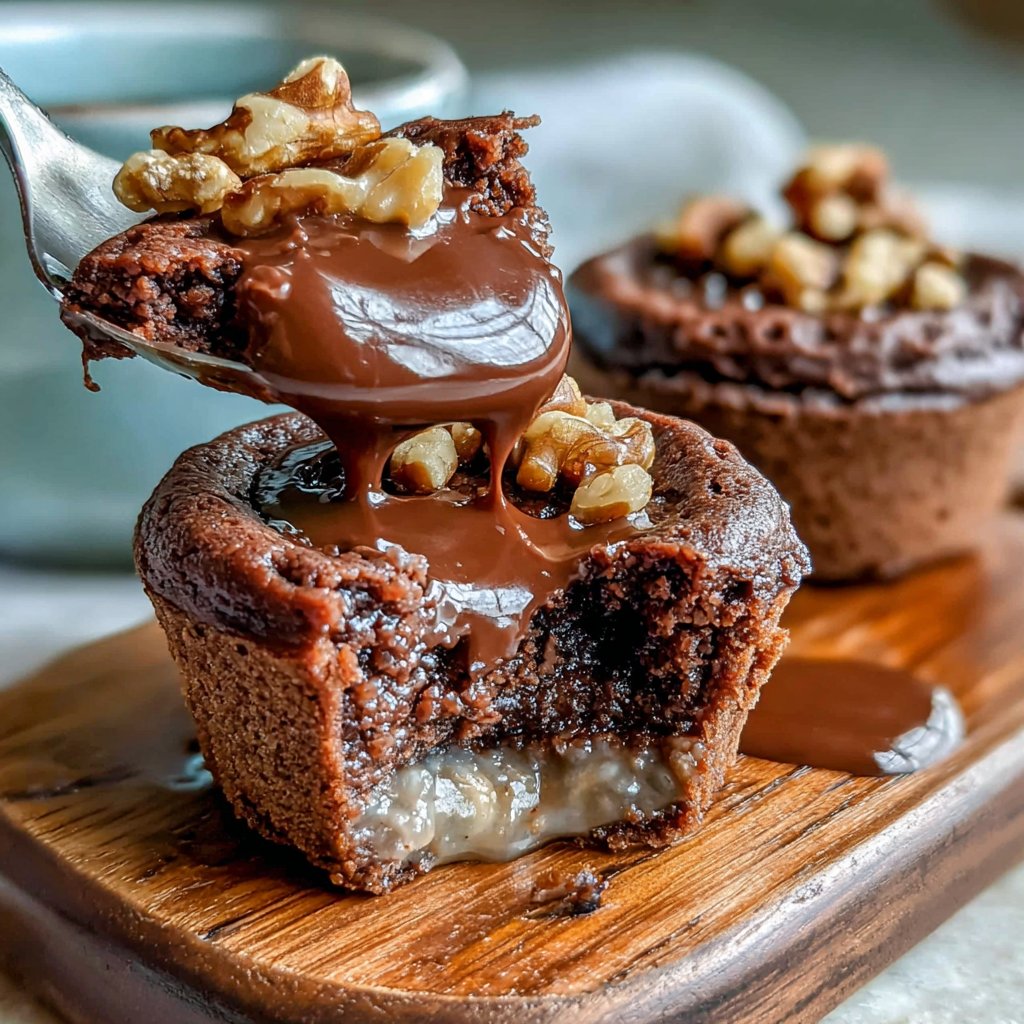
I’ve always had a passion for chocolate desserts, and these Creamy Chocolate Brownie Cups truly take the cake—literally! The moment I took my first bite, I was enveloped in a rich, velvety texture that satisfied my chocolate cravings. Each cup is an enticing combination of fudgy brownie and a creamy filling that dances on the palate. Whether for a party or a personal treat, these brownie cups never fail to impress and delight. I can't wait for you to experience the joy they bring.
Creating these Creamy Chocolate Brownie Cups was an unexpected journey into dessert perfection. I experimented with different chocolate types, and discovering that a mix of dark and milk chocolate yielded a delightful balance was a game-changer. The rich flavor paired beautifully with a hint of vanilla in the filling, and I found that incorporating a touch of espresso powder elevated the taste even more!
While preparing the brownie base, I realized that using melted chocolate instead of just cocoa powder gave an extra layer of fudginess. This small tweak significantly improved the texture, and I couldn’t believe how much better they turned out. Each cup is a testament to the power of quality ingredients and a little experimentation!
Why You Will Love This Recipe
- Silky-smooth creamy filling complemented by rich brownies
- Perfect portion sizes for all chocolate lovers
- Great for parties, gatherings, or a decadent personal treat
Mastering the Brownie Base
The key to achieving the perfect brownie base lies in how the ingredients are combined. When melting the butter and dark chocolate, make sure the mixture is smooth and glossy, which ensures that your brownies will have that fudgy texture upon baking. Don't rush this step; a double boiler or microwave set to low is ideal for even melting without burning the chocolate, which can lead to a gritty texture.
Once the wet ingredients are mixed thoroughly with the sugars, it's important not to overmix when adding the flour. Mixing just until the flour is incorporated will keep your brownies chewy rather than cakey. If you prefer a more decadent experience, consider folding in additional chocolate chips or nuts for an extra layer of texture and flavor.
Perfecting the Creamy Filling
To achieve a beautifully smooth and fluffy creamy filling, it's crucial to use room temperature cream cheese. If it’s too cold, you might end up with lumps that won't mix well. I recommend breaking the cream cheese into smaller pieces before whisking to help it soften more uniformly. Whisking the heavy cream until stiff peaks form gives the filling that lightness, enhancing the overall dessert experience.
If you want a flavored filling, consider adding a tablespoon of your favorite liqueur, such as Frangelico or Irish cream, to the mixture. This not only amplifies the dessert’s complexity but can also complement the chocolate perfectly. Be cautious with additional flavors; start with a small amount and adjust to taste.
Storing and Serving Tips
These Creamy Chocolate Brownie Cups can be made ahead of time, which is perfect for busy schedules. After assembling the cups, store them in an airtight container in the refrigerator for up to three days. This not only keeps them fresh but allows the flavors of the creamy filling to meld together beautifully, enhancing their overall taste.
When it comes time to serve, you can garnish your brownie cups with fresh berries, chocolate shavings, or even a drizzle of caramel sauce for an added touch of elegance. If you're feeling adventurous, consider pairing them with a scoop of vanilla ice cream on the side for a delightful contrast in temperatures and textures.
Ingredients
Gather these ingredients to make your delicious Creamy Chocolate Brownie Cups:
For the Brownie Base
- 1 cup (150g) all-purpose flour
- 1/2 cup (100g) granulated sugar
- 1/2 cup (100g) brown sugar
- 1/2 cup (113g) unsalted butter, melted
- 1 cup (175g) dark chocolate chips
- 2 large eggs
- 1 teaspoon vanilla extract
- 1/4 teaspoon salt
For the Creamy Filling
- 1 cup (240ml) heavy cream
- 4 ounces (115g) cream cheese, softened
- 1/4 cup (30g) powdered sugar
- 1 teaspoon vanilla extract
- 1/4 cup (60ml) milk
Make sure to have all of these components ready before diving into the recipe!
Instructions
Follow these steps to create your Creamy Chocolate Brownie Cups:
Preheat the Oven
Preheat your oven to 350°F (175°C) and line a standard muffin tin with cupcake liners.
Prepare the Brownie Base
In a mixing bowl, melt the butter and dark chocolate together. Stir in the granulated and brown sugar until well combined. Add the eggs and vanilla extract, mixing until smooth. Slowly incorporate the flour and salt until just combined.
Bake the Brownie Base
Divide the brownie batter evenly among the lined muffin cups, filling each about 3/4 full. Bake in the preheated oven for 20-25 minutes or until a toothpick comes out with a few moist crumbs. Allow to cool completely.
Make the Creamy Filling
While the brownies cool, whisk together the heavy cream, cream cheese, powdered sugar, vanilla, and milk until smooth and fluffy.
Assemble the Cups
Once the brownies have cooled, remove them from the muffin tin. Pipe or spoon the creamy filling on top of each brownie base, ensuring they are generously topped.
Chill and Serve
Refrigerate the assembled cups for at least 30 minutes before serving. Enjoy your delightful creations!
And there you have it—a beautiful batch of Creamy Chocolate Brownie Cups!
Pro Tips
- For added flavor, sprinkle some sea salt on top of the creamy filling before chilling. This contrast really enhances the taste!
Dealing with Common Issues
One common issue when making brownie cups is the tendency for them to overflow during baking. To prevent this, ensure that you fill each muffin cup only 3/4 full, which allows space for rising without creating a mess. Keep an eye on them during the last few minutes of baking; if you notice that the edges are pulling away from the sides, they are likely done.
If your brownies turn out too dry, this usually means they were overbaked. Invest in a good toothpick test: insert a toothpick into the center, and if it comes out with just a few moist crumbs attached, it's perfect. If you’re unsure, err on the side of underbaking slightly, as the residual heat will continue to cook them a bit after removing them from the oven.
Ingredient Variations and Substitutions
For those needing a gluten-free option, swapping out all-purpose flour for a 1:1 gluten-free baking blend will work well. Just ensure that the blend contains xanthan gum, which helps give the cupcakes structure similar to traditional flour. This adjustment allows everyone to enjoy these delicious treats without compromising on texture or taste.
If you want a lighter version of the creamy filling, you can substitute half of the heavy cream with Greek yogurt. This not only reduces the calorie count but also adds a slight tanginess that complements the chocolate beautifully. Just be aware that using yogurt may create a denser filling, so adjust the proportions according to your preference.
Scaling Up for Gatherings
If you're planning to serve a crowd, this recipe can easily be doubled. Just ensure that you are using two muffin tins, and consider rotating them halfway through the baking time to ensure even cooking. If you do not have enough muffin liners, you can lightly grease the pan with butter or cooking spray to help with easy removal.
For a fun variation, consider creating layered brownie cups. Alternate layers of brownie base and creamy filling in clear cups to showcase the beautiful swirls. This presentation can elevate your dessert for parties and gatherings, drawing the attention of your guests and making the dessert more enticing.
Questions About Recipes
→ Can I use a different type of chocolate?
Absolutely! You can use semi-sweet or even milk chocolate, but consider adjusting the sugar levels accordingly.
→ How long can I store these brownie cups?
They can be kept in the refrigerator for up to 3 days. Just make sure to cover them tightly.
→ Can I make these gluten-free?
Yes, you can replace the all-purpose flour with a gluten-free flour blend and still achieve great results.
→ Is there a vegan option for the cream filling?
Certainly! You can use silken tofu blended with dairy-free cream and powdered sugar as a replacement for a vegan-friendly filling.
Creamy Chocolate Brownie Cups
Created by: The Sarahsfoodlab Team
Recipe Type: Warm Baking | Bread & Muffins
Skill Level: Intermediate
Final Quantity: 12 cups
What You'll Need
For the Brownie Base
- 1 cup (150g) all-purpose flour
- 1/2 cup (100g) granulated sugar
- 1/2 cup (100g) brown sugar
- 1/2 cup (113g) unsalted butter, melted
- 1 cup (175g) dark chocolate chips
- 2 large eggs
- 1 teaspoon vanilla extract
- 1/4 teaspoon salt
For the Creamy Filling
- 1 cup (240ml) heavy cream
- 4 ounces (115g) cream cheese, softened
- 1/4 cup (30g) powdered sugar
- 1 teaspoon vanilla extract
- 1/4 cup (60ml) milk
How-To Steps
Preheat your oven to 350°F (175°C) and line a standard muffin tin with cupcake liners.
In a mixing bowl, melt the butter and dark chocolate together. Stir in the granulated and brown sugar until well combined. Add the eggs and vanilla extract, mixing until smooth. Slowly incorporate the flour and salt until just combined.
Divide the brownie batter evenly among the lined muffin cups, filling each about 3/4 full. Bake in the preheated oven for 20-25 minutes or until a toothpick comes out with a few moist crumbs. Allow to cool completely.
While the brownies cool, whisk together the heavy cream, cream cheese, powdered sugar, vanilla, and milk until smooth and fluffy.
Once the brownies have cooled, remove them from the muffin tin. Pipe or spoon the creamy filling on top of each brownie base, ensuring they are generously topped.
Refrigerate the assembled cups for at least 30 minutes before serving. Enjoy your delightful creations!
Extra Tips
- For added flavor, sprinkle some sea salt on top of the creamy filling before chilling. This contrast really enhances the taste!
Nutritional Breakdown (Per Serving)
- Calories: 380 kcal
- Total Fat: 26g
- Saturated Fat: 15g
- Cholesterol: 195mg
- Sodium: 85mg
- Total Carbohydrates: 32g
- Dietary Fiber: 3g
- Sugars: 24g
- Protein: 6g